Using AI to create art for laser engraving involves a few steps to ensure the artwork is suitable for the engraving process. Here's a general guide:
1. Generate the Artwork:
- Use an AI art generator to create your initial image. You can provide text prompts to guide the AI towards the style and content you desire. My favorite AI tool is Microsoft CoPilot. It comes in both a free and paid version. You need to be registered to create images using CoPilot. The image will be saved as a JPG.
2. Prepare the Image:
- Convert the AI-generated image into a format suitable for laser engraving, such as a vector file (SVG or DXF). This may involve tracing the image in a vector graphics program like Adobe Illustrator.
- Ensure the image is in black and white or greyscale, with clear contrast, as this is typically required for laser engraving. Consider that the laser will mark the dark part of the image- you may need to invert the image to get the desired effect with your engraving.
3. Optimize for Engraving:
- Adjust the image's resolution (DPI) to match the capabilities of your laser engraver.
- If necessary, use dithering to create gradients for the laser engraver to interpret shades of grey.
4. Test and Adjust:
- Perform test engravings on scrap material to fine-tune the image's details and the laser settings.
- Make adjustments to the power, speed, and frequency of the laser to achieve the desired depth and clarity.
5. Final Engraving:
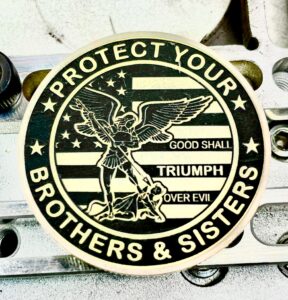
- Once satisfied with the settings and the image, proceed with the final engraving on your chosen material.
Remember, the key to successful laser engraving with AI-generated art is to have a clean, high-contrast image that translates well into the engraved medium. It's also important to be aware of the ethical considerations and respect the work of artists when using AI-generated images.


