Creating 3D images for laser engraving with AI involves a few steps to ensure the final artwork is suitable for the engraving process. Here's a simple guide:
1. Generate the Image:
- Use an AI image generator to create your initial artwork. Provide detailed prompts to guide the AI towards the style and content you desire, such as "bas relief" which works well for 3D effects. I use Microsoft CoPilot. It comes in both a free and paid version- both you need to register to enable image generation.
2. Prepare the Image:
- Convert the AI-generated image into a vector format (SVG or DXF) if necessary. This may involve using software to trace the image or convert it to a format that supports transparency, like PNG. I do my work on my iPad Pro and use Adobe Illustrator, Procreate, Affinity Photo and Designer 2 and even the basic iPad Photo Editor.
3. Create a Depth Map:
- A depth map is essential for 3D engraving as it tells the laser how deep to engrave each part of the image. You can generate a depth map using specialized software or online services. Creating a depth map from a photo involves capturing the relative distances between objects in the image. Depth maps are essential for various applications, including 3D rendering, augmented reality, and laser engraving. Here are a few methods to create depth maps:
Online Depth Map Generators:
- There are online tools that can compute depth maps from a single photo without requiring a 3D camera. These tools analyze the image and estimate depth information based on visual cues. You can upload your photo and generate a depth map instantly.
- Some popular online tools include:
- [Photo to Depth]( https://imageamigo.com/photodepth/): Upload an image and compute a depth map for segmentation, creating a bokeh effect, or measuring relative distances.
- [ArtificialStudio's Image Depth Map Generator]( https://www.artificialstudio.ai/tools/image-depth-map-generator): Transform 2D images into immersive depth maps for creative possibilities in photography, videography, and visual effects.
Manual Depth Map Creation (Using Software like Photoshop):
- Open your image in a photo editing software (e.g., Photoshop).
- Ensure the image is in RGB mode and has a white background.
- Go to Filter > 3D > Generate Bump (Height) Map. This will bring up the "Generate Depth Map" dialog box.
- Adjust the settings to create a depth map that represents the relative heights of objects in the image.
Depth Map Extraction in Photopea:
- Visit [Photopea]( https://www.photopea.com/).
- Open your JPG photo by clicking File > Open.
- Look for layers on the right side (if hidden, click Window > Layers).
- You'll find a depth map layer and possibly a sharp version of your image. Unhide the depth map layer by clicking the eye icon next to it.
Remember that the quality of the depth map depends on the original image and the method used. Experiment with different approaches to achieve the desired results!
4. Optimize for Engraving:
- Process the images to enhance edges, remove noise, and adjust contrast to ensure the laser engraver can interpret the design accurately.
5. Engraving:
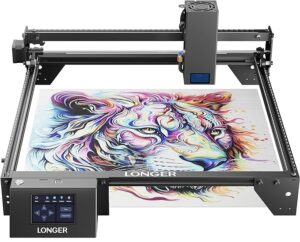
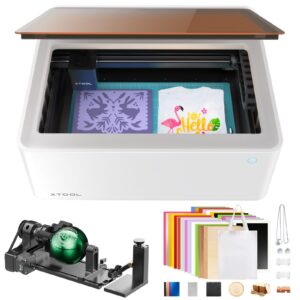
- Use the depth map and the optimized image to engrave your design with a laser engraver. Adjust the laser settings such as power, speed, and frequency to achieve the desired depth and detail.
Remember to perform test engravings and adjust your settings as needed. For more detailed instructions, you might find online tutorials and community forums helpful, where experienced users share their insights and techniques.
Please note that while AI can greatly assist in the creative process, it's important to consider the ethical implications of using AI-generated images, especially those that may use artwork created by human artists without proper attribution or compensation. Always strive to use AI responsibly.


